The build instructions (readme.md) need to be updated to include the new flag -DBP_PICO_PLATFORM=rp2350
Also, when compiling, if I use -DPICO_SDK_FETCH_FROM_GIT=FALSE I get an error about not finding pio2. If I try setting this to ‘TRUE’ but not specifying the PICO_SDK_PATH it fails to find it and also doesn’t work. The following worked for me:
Thank you for the info. I will push that to readme.
In terms of the pico path: this has been a real issue lately. RPI has a vscode extension to handle this, but several of us have had horrible experiences with it.
Several of us develop on WSL (Linux on Windows) now to avoid that big mess.
I have to manually add back in a sdk path to the cmakelists in the root directory for it to work.
I have no idea if there’s a better way. FWIW, I am developing in Linux (Debian).
Side note, I did flash the latest firmware on my BP6 and got (edit) blueTag to identify SWD and JTAG correctly. I’m rather impressed. Been having issues with an old Jtagulator, but I think it’s because I never changed the series resistors from 1k to 10ohm.
you may want to add the flags -DPICO_SDK_PATH=/path/to/pico-sdk -DPICO_SDK_FETCH_FROM_GIT=FALSE if you want to use pico-sdk that is in your local path.
project build
cmake --build ./build_rp2040 --parallel --target all
cmake --build ./build_rp2350 --parallel --target all
# you may add a specific target, such as:
cmake --build ./build_rp2040 --parallel --target bus_pirate5_rev8
cmake --build ./build_rp2040 --parallel --target bus_pirate5_rev10
cmake --build ./build_rp2350 --parallel --target bus_pirate5_xl
cmake --build ./build_rp2350 --parallel --target bus_pirate6
Checked into the repository is a hacks/chk.sh which does a full clean build of both RP2040 and RP2350 builds. It also ensures the translation strings are updated. This script intentionally avoids using ./build as a target directory, to avoid stomping on VSCode’s CMake extension (which doesn’t like others messing with that directory).
HOWEVER, because bash is >15th in my list of programming languages, I haven’t cleaned it up to ensure each step succeeds before doing the next one. Would love some help cleaning that script up.
That said, I just manually review the output. It’s pretty easy to see warnings and errors from CMake and GCC…
I like to do everything from VSCode WSL, so here’s my tasks.json and launch.json for BP6 (feel free to adapt it to your needs). Put in BusPirate5-firmware/.vscode
With this setup, you can configure CMake, build, flash and debug everything directly from the IDE.
PS C:\Users\regue> usbipd attach -b 1-1 --wsl
usbipd: info: Using WSL distribution 'Ubuntu' to attach; the device will be available in all WSL 2 distributions.
usbipd: info: Detected networking mode 'nat'.
usbipd: info: Using IP address 172.29.128.1 to reach the host.
PS C:\Users\regue> usbipd list
Connected:
BUSID  VID:PID    DEVICE                                                        STATE
1-1    2e8a:000c  CMSIS-DAP v2 Interface, USB Serial Device (COM33)             Attached
1-2    046d:c52b  Logitech USB Input Device, USB Input Device                   Not shared
1-3    1209:7331  USB Serial Device (COM55), USB Serial Device (COM54), USB...  Not shared
1-8    174f:241a  EasyCamera                                                    Not shared
1-14   8087:0a2a  Intel(R) Wireless Bluetooth(R)                                Not shared

Persisted:
GUID                                  DEVICE
Linux WSL:
dreg@leno:~/BusPirate5-firmware/.vscode$ lsusb
Bus 001 Device 001: ID 1d6b:0002 Linux Foundation 2.0 root hub
Bus 001 Device 002: ID 2e8a:000c Raspberry Pi Debug Probe (CMSIS-DAP)
Bus 002 Device 001: ID 1d6b:0003 Linux Foundation 3.0 root hub
pico-wsl2
openocd-rp2350
Note: Some things are hardcoded and crappy, but for me, it’s good enough.
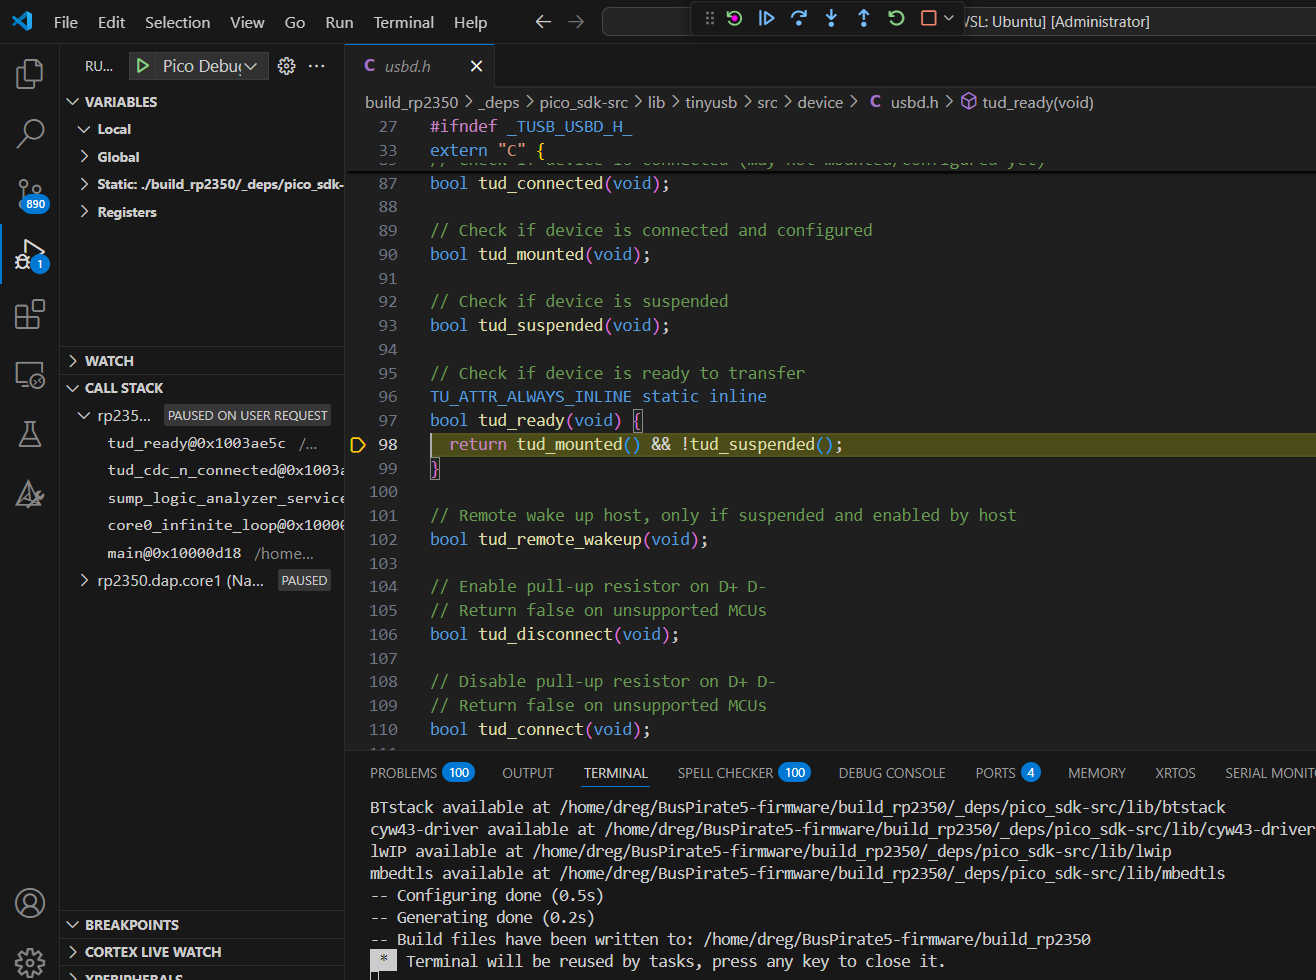
Setup is a real pain … but thanks to your launch.json, I finally got debugging working under VSCode.
At the same time, I lost the ability to view RTT output. That’s rough.
Previously, I’d been following the steps in hacks/rtt_debugging.md, which telnets to port 4444 to manually control the cores, flash the firmware, and start the RTT server.
Cortex-Debug appears to have configuration variables to enable RTT on OpenOCD … but I’m unsure if I’m doing that correctly as I cannot see a port opened for RTT.
Do you have any thoughts on how I might enable RTT as a console window for VSCode?
I also prefer a GUI debugger, and I have no idea about RTT, but…
wouldn’t it be easier to just do a pure software UART bitbang (NO PIO) + use a USB-to-UART adapter on a free BIO pin?
When I get a moment, I’ll look into RTT and let you know—
but first, I want to finish all the PS/2 and USB Plank work, which is already a ton of effort.
It would not be easier. RTT works over the existing debug interface … no second adapter, no additional wires, and no reliance on UART hardware (it’s all memory reads / writes).
Bummer that you haven’t already used RTT. I’m still looking for how to get ALL these parts working at the same time. Wishing this were not quite so much work, just to get a full-featured development environment setup…
Continuing to investigate … it seems Cortex-Debug extension should have support …(but the obvious things aren’t happening…).