Lenticular robot sticker (side quest)

I find myself interested in making a custom lenticular sticker, and it’s been a while since we treated ourselves to a side quest so… Let’s see what we can do with our little robot.

What is a lenticular image

Lenticular images are the kind that morph or appear 3D when changing viewing angles.

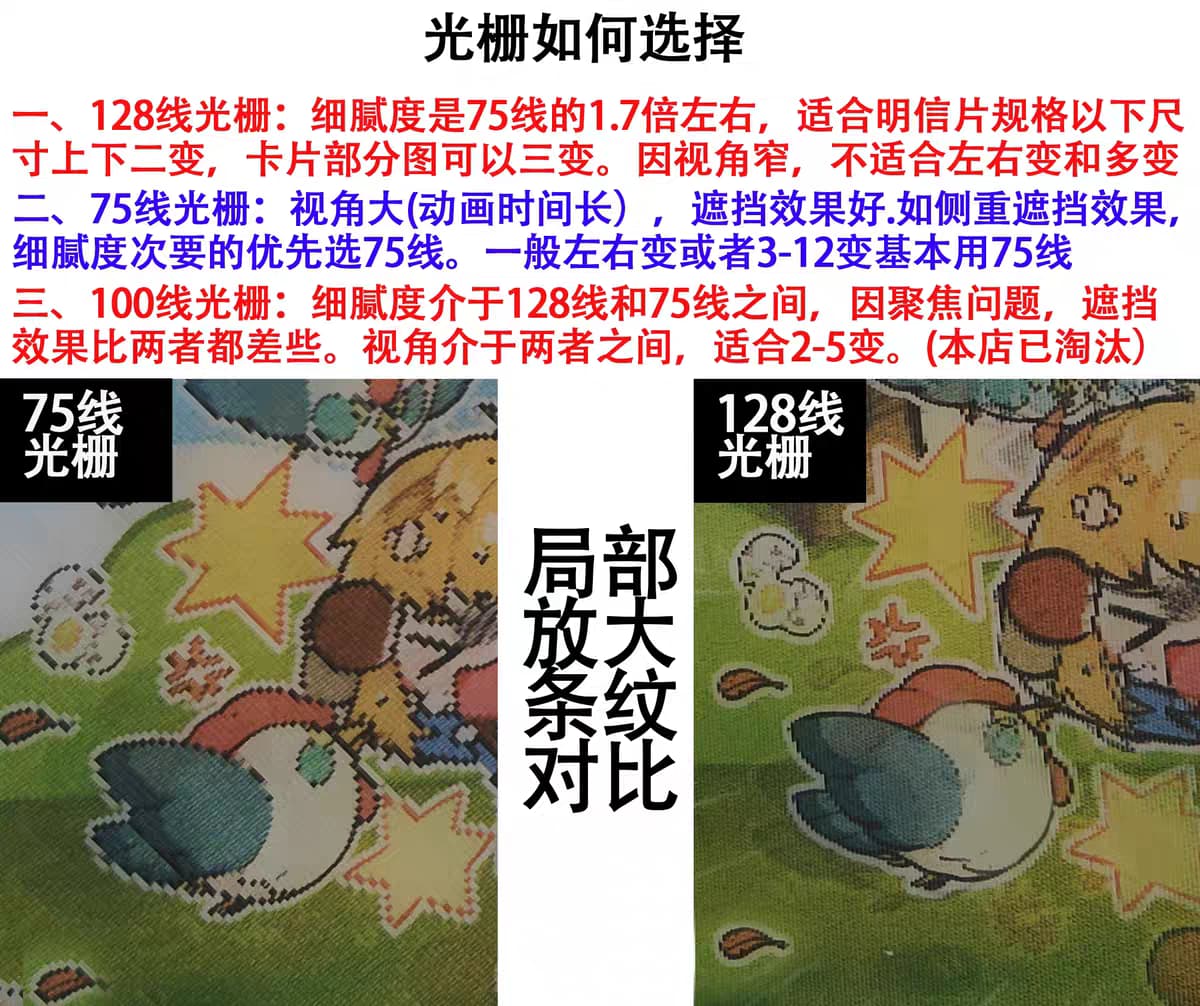
This company produces 128 line per cm (?) lenses. These are used for up/down tilt and don’t look good for left or right.

75 line per cm (?) lenses are good for left/right tilt, from 3 - 12 layers of image changes.

Left to right is probably our best bet. Any thoughts? I see it as something you walk by, rather than rotate top to bottom.

Feasibility study

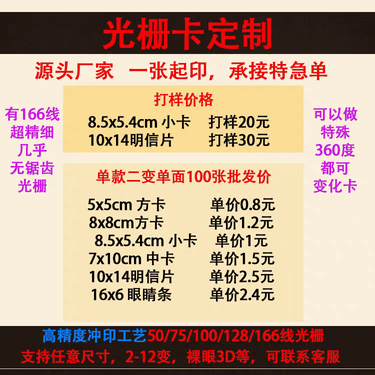
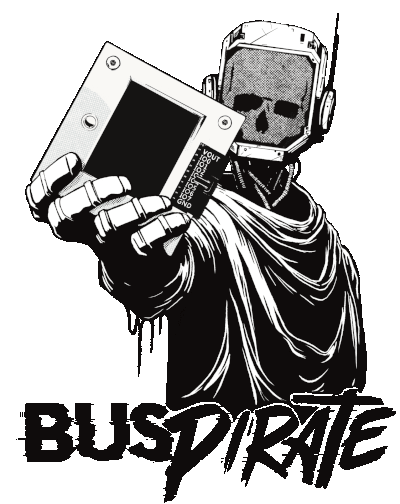
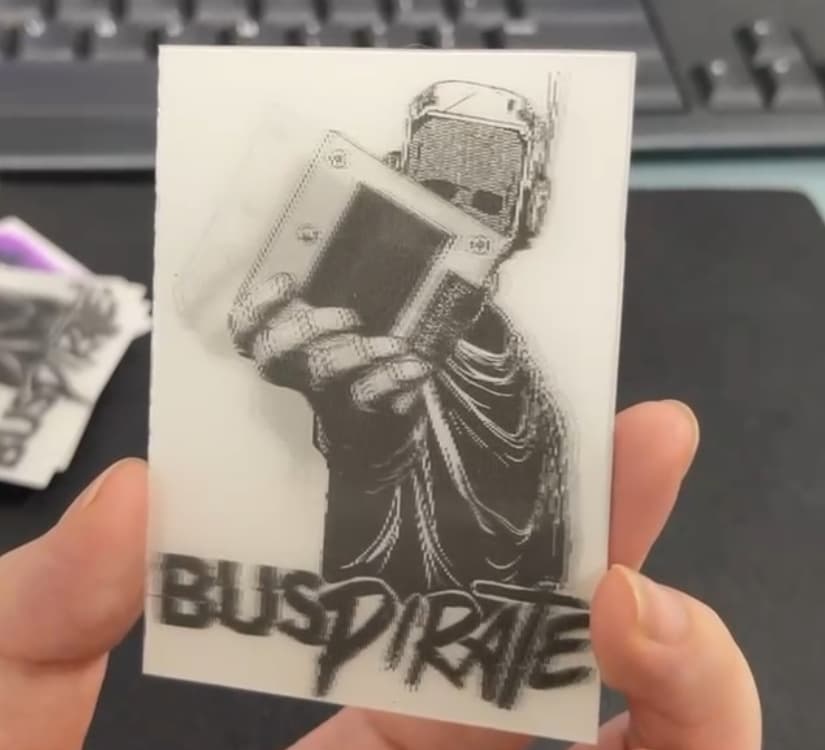
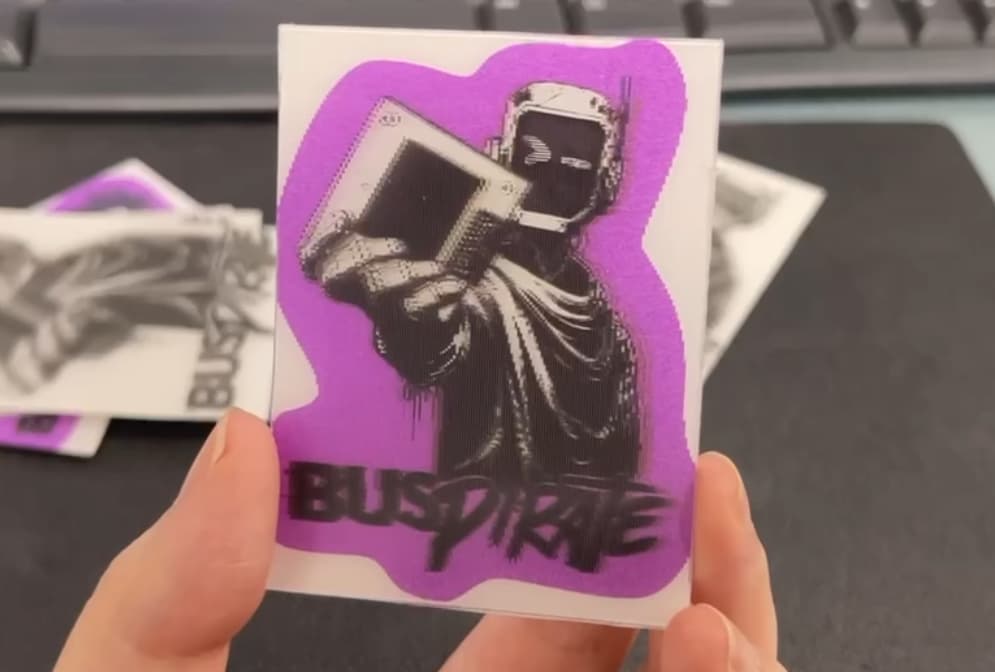
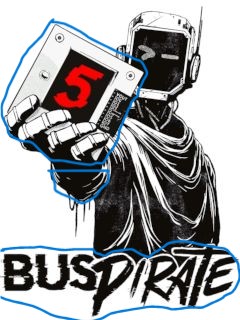
The current robot sticker is 8x5.4 cm, so 8.5x5.4 cm seems like a good fit. A single proof is 20kuai ($3-ish), and production for >100 is 1kuai each ($14-ish). At those prices we should get samples of 100 and share them around.

Seems great! There are some unknowns:

  • Most of these are advertised as cards, can they also be adhesive backed? What is the quality of the adhesive (e.g. 3M)?
  • They seem to have set shapes, but can they be custom cut? If not, can one of our other suppliers cut them for us?

Design guidelines

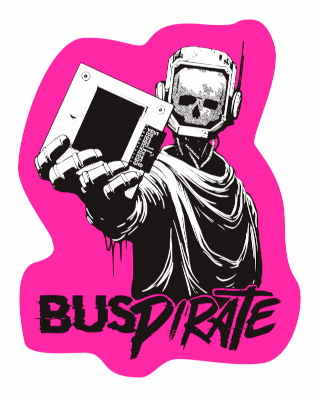
  • Avoid white as it bleeds between the lenses. We may need to change the robot background color

How will it look?

First, what are the types of lenticular images?

Different types:

Thank you Wikipedia.

I want to stick with our existing image, perhaps with some slightly updated views if the artist is available. Let’s look at animated and stereoscopic.

Animated

Some initial ideas -

  • Animate the hand moving slightly in front of the robot face
  • Perhaps a wink of the eye. Maybe the winking eye becomes a terminal cursor?
  • Maybe a green terminal cursor on the bus pirate blinking as it moves

I can cut the hand out in GNUimp so we can get a sample made quickly. The other changes will require the artist to do a few new elements.

Stereoscopic

Some initial ideas -

  • Pull out the Bus Pirate and fingers into a front layer
  • Float the Bus Pirate text on the front layer
  • Put the sleeve on a second layer
  • Rest of robot on 3rd layer

Most factories advertise the ability to 3D-ify your existing image, so this may need no additional work.

Next steps

Printing companies work weekends, and often have reps 24x7. We need to pick a few and ask the questions above. One will be more pleasant to work with than the rest and we’ll order some prints.
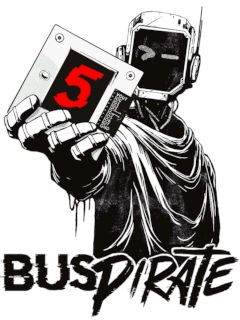
It will not say “5”

The original Bus Pirate sticker isn’t on this computer, so that is all I could find. The sticker will not be version specific. Unless you want it to be :wink:

1 Like

Professional customized three-dimensional grating products:

Grating change painting (2-5 changes), double change postcard, 3D photo, 3D refrigerator magnet, 3D stickers (mobile phone stickers), 3D folders, 3D bookmarks, 3D mobile phone cases, 3D cards, 3D placemats and coasters, etc. All patterns can be made

1 Like

For animation, I would think up/down to be better, as distance from the viewer would not affect the result (important eye angles will be identical). For left/right (esp. stereo), the distance of the sticker to the viewer would matter … because you need to ensure both eyes are seeing the intended image, which is based on an angle that differs for each eye.

Ordering as left/right vs. up/down matters, when you can just rotate the result 90 degrees? That’s fascinating!

Proofs for ~$3USD? This is just begging to turn into a little side-business!

2 Likes

How to submit the file

The “design service” provided is only to convert to a lenticular, not for any of the actual effects. We need to provide a Photoshop file. We’re doing the maximum package: 3D + 3 animation frames.

  • Animation frames are provided separately
  • 3D layers are specified on photoshop layers

robot-resize

Example of animation.

Proposed layers

  • RED Front
  • BLUE Middle
  • Rest Back
2 Likes

Got some solid info today.

  • File format: An EPS file for each view (3) with EPS layers for the 3D planes
  • Design critique: not enough difference to be noticeable. However, A. this is just a mock up, and B. we want to rely as much as possible on the existing image
  • Design critique: No background/white background. We may need to do a color fill for the background
2 Likes

robot_sm

unitsix made some really nice modifications to the robot.

We sent the EPS formatted frames to several factories.

The factory we want most to work with (good equipment, low prices) has the worst customer support. One word replies that don’t really address our queries.

A couple more professional factories are quoting a lot more than expected. 100RMB per change design fee plus 100 units minimum for prototyping. @jin feels like we’re missing some key information. It will take another day or two to work this out.

2 Likes

4 proofs ordered from our preferred supplier.

Evidently they will handle the 3D/layers/depth effect for us. We’ll see how that looks before specifying it ourselves.

Such an odd sourcing adventure.

The more professional suppliers actually had materials, templates, requirements - and all cost $400-$500USD to get started.

The cheap supplier with terrible communication has specialized equipment to do line densities other suppliers can’t achieve - and charges $3 for onsies.

Very curious how this will turn out. We probably shouldn’t expect much.

1 Like

If they come to be, I’m definitely interested in a few.

1 Like

I love this!! I wanna one

1 Like