true. PCBites are just a fancy way for that job. but when you don’t have them at hand but a big stash of lego pieces there are enough other ways for holding them. Was lazy since i didnt want to play inverted tetris to reach a few boxes of more lego technic stuff, otherwise that solution could have been more complicated, took me a few tries with this ghetto-rigged one to get the connection reliable
Shared this hack in Iceman’s Proxmark3 forum, so thought I’d also share it here.
While you can purchase pogo pins pre-made into "cable-like" assemblies, pogo pins are ***notorious*** for breaking, and sometimes you can't wait for another shipment. For 2.54mm / 0.1" spacing, it's convenient and easy to have parts pre-made and ready to create an adapter / replace broken bits. Here's one hack I've used:
Materials
2.54mm / 0.1" Dupont Wire Jumper Pin Header Connector Housing Kit … or similar
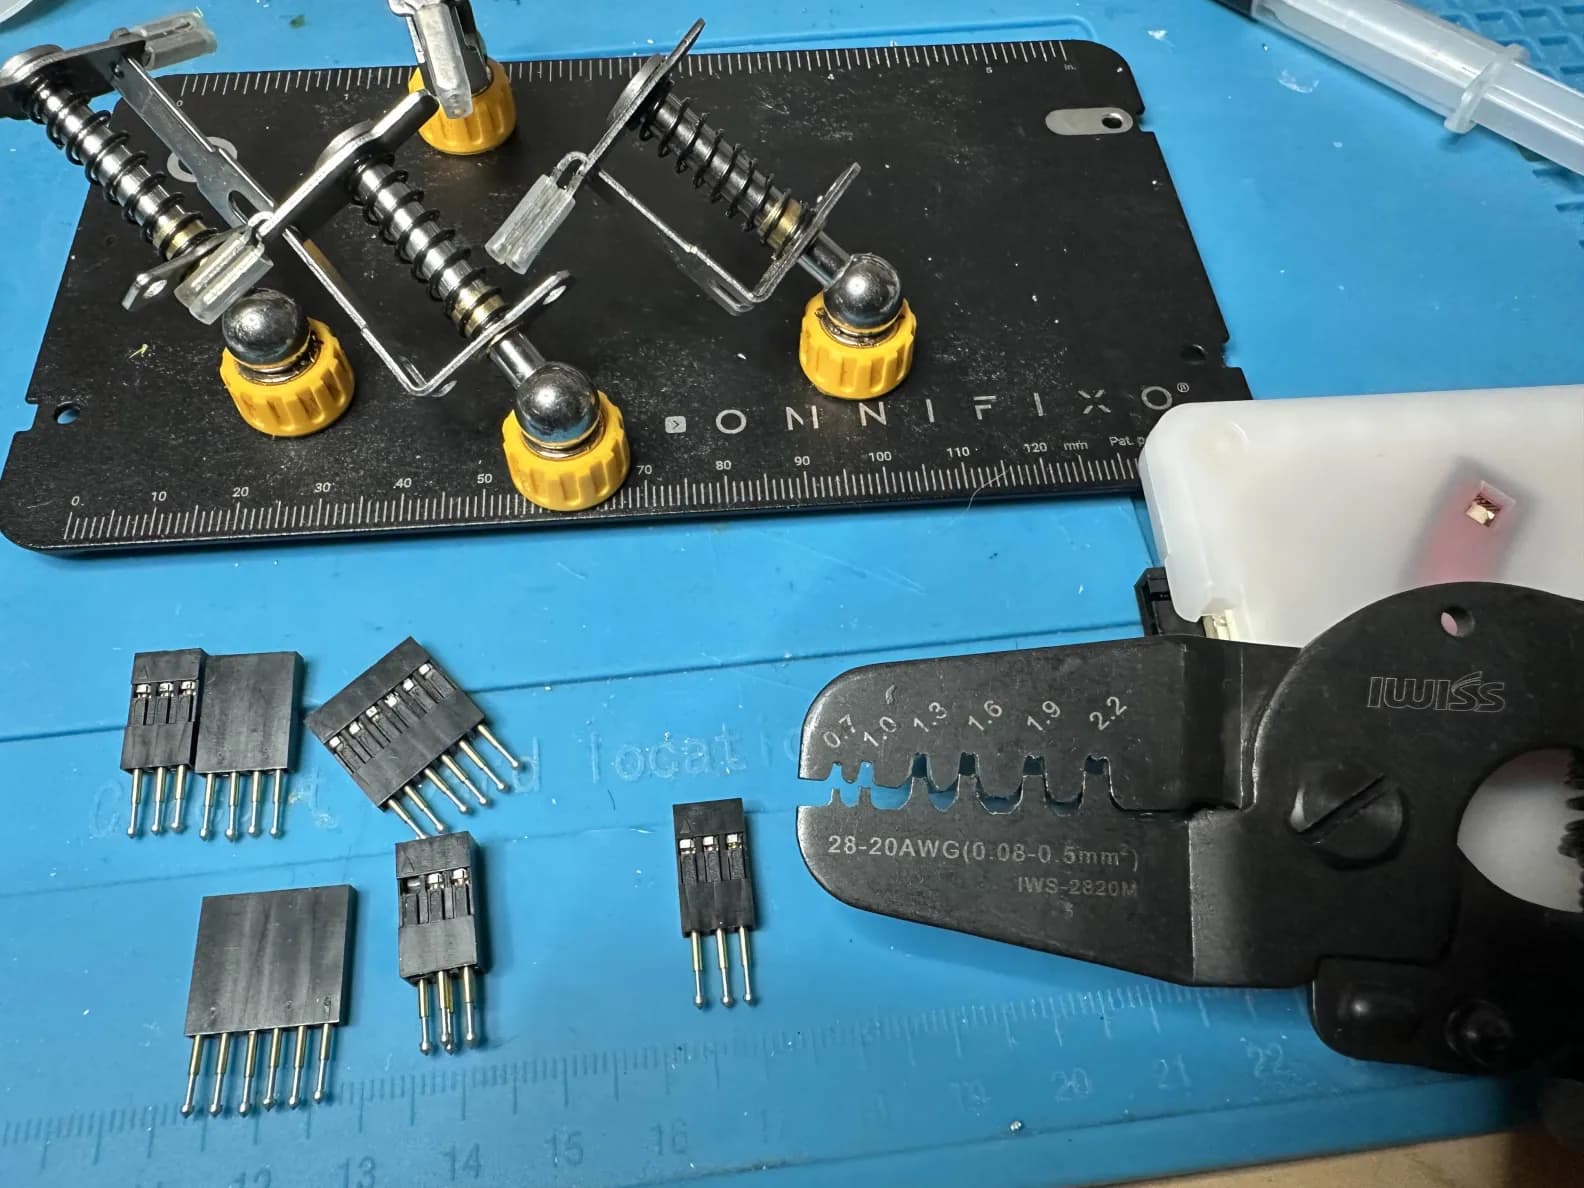
Crimping tool for above, such as iCrimp IWS-2820M
POGO pins … search for “P75-E2 pogo spring test probe” (1.3mm head, 1.02mm tube; I most often use conical head)
Create a Bunch of These Parts
From the header kit, detach a dozen (or more) of the female-side tin connectors.
Hold a pogo pin where the wire would normally be placed, pushing it all the way up.
Crimp the two locations, first with 1.6mm and finishing with 1.3mm
Optionally, add a touch of flux and solder in place
On-Demand Connectors
Grab the size of plastic female dupont-style header that you need from the kit.
Populate necessary holes with the pre-made pogo pin inserts.
Use dupont style cables to connect to test equipment.
Pin Replacement
When a pogo pin inevitably breaks…
gently lift the plastic tab holding the pin in place, and slide out the broken pogo pin assembly.
Press the plastic tab back in (deeper than needed) to reset it. If it breaks, make a new connector.
Fill the empty spot you just created with a pre-made pogo pin insert.
Continue without delays or frustration.
Other Notes
Having the pre-made pogo pin inserts also allows you to create non-standard (0.1") patterns, such as when the test points / unpopulated through holes skip a spot or two.
Total cost is under $40 using Amazon, likely much cheaper direct from China if you can wait. For example, Amazon US lists $6.50 for 100 pogo pins, ~$20 for the crimping tool, and ~$10 for a decent size kit (e.g., 620 piece kit having 20 of 1 x {3, 4, 5, 6}; 40 of 1 x {1, 2}; 10 of 2 x {2,3,4,5,6} ).
If you make 20 or so at a time, it really doesn’t take much time, either.
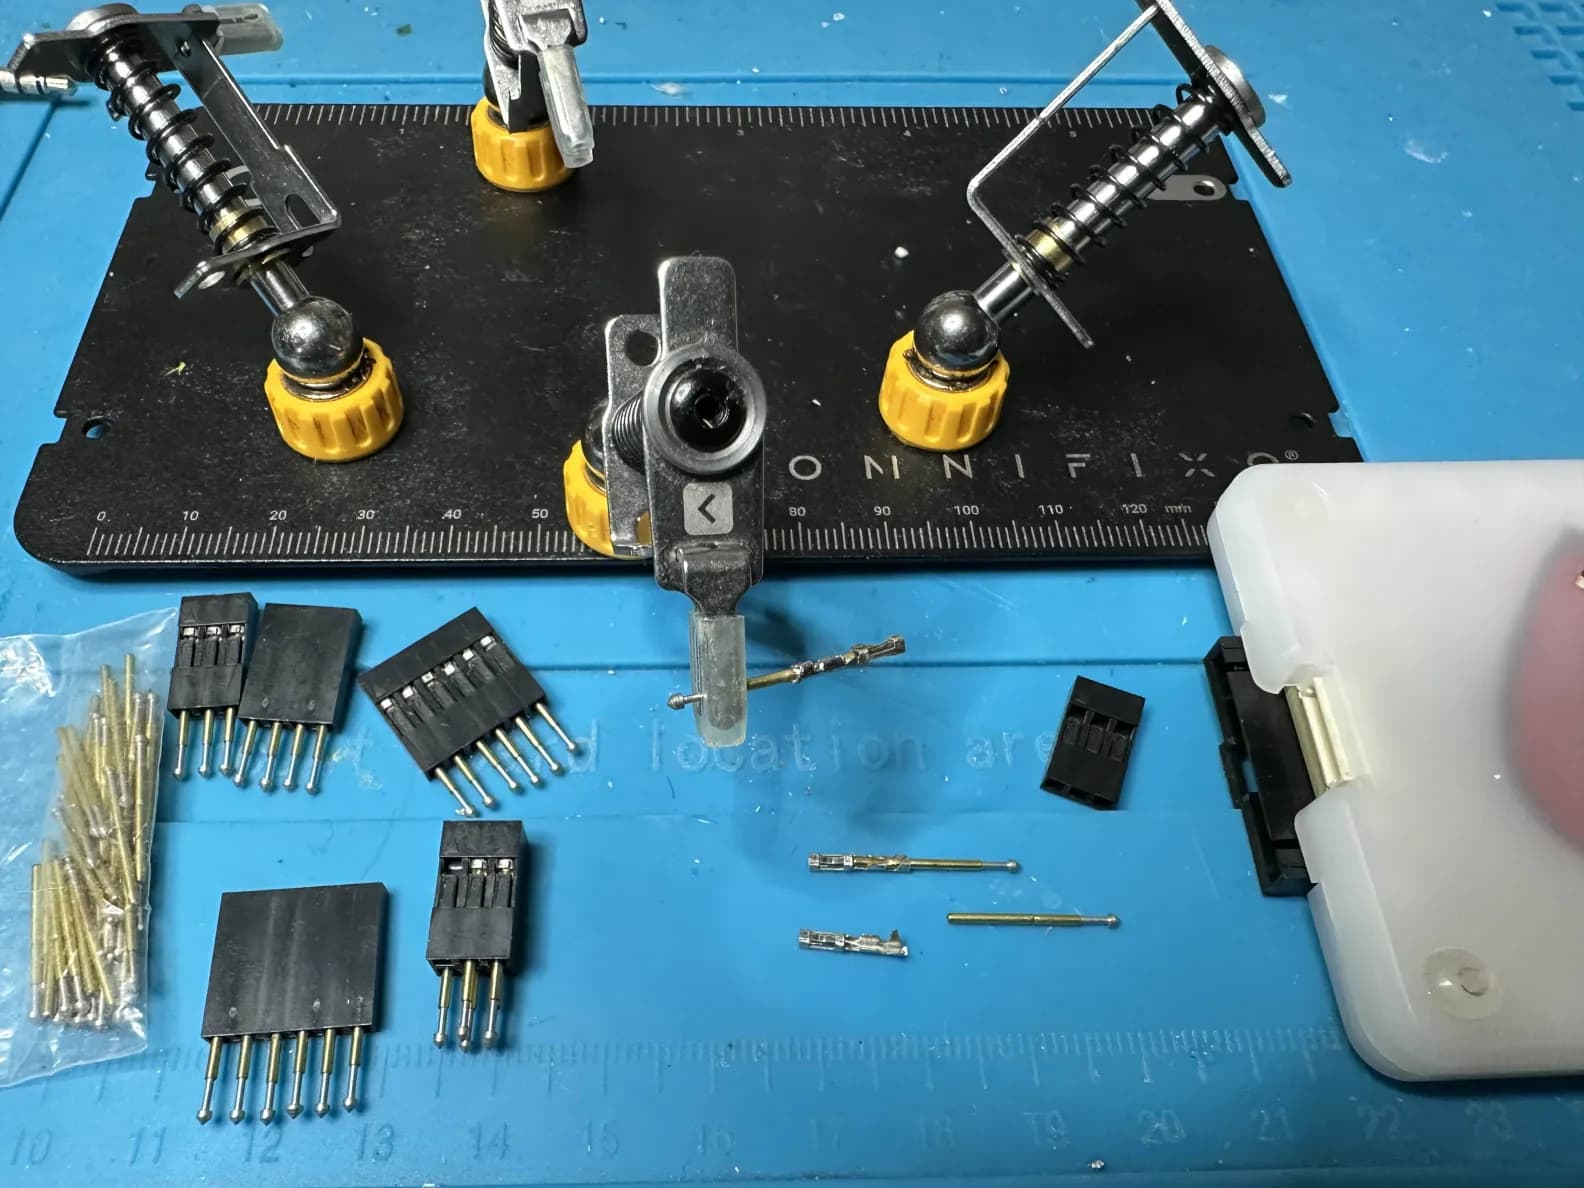
Pictures
First picture shows the pogo pin assembly (from bottom up):
I use the 1.6mm first because the legs aren’t parallel at first, and it’s easier than making the legs parallel with the front of the tool. Thus, it wraps the legs, just not tightly enough, around the POGO pin.
I then finish with 1.3mm because it crimps small enough to fit the headers, without destroying the POGO pin (e.g., springiness still there).
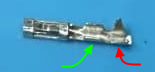
Realize I didn’t answer the first question, of “which two locations”…
The green arrow points to the crimp that is normally made onto the bare wire. The red arrow points to the crimp that is normally made onto the insulation of the wire.
Both those spots can be crimped onto the POGO pin.