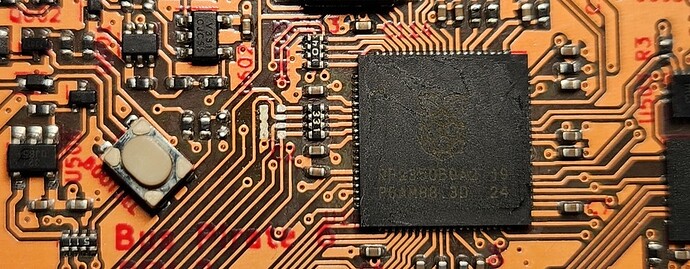
Looks like its been bloodied and battle tested
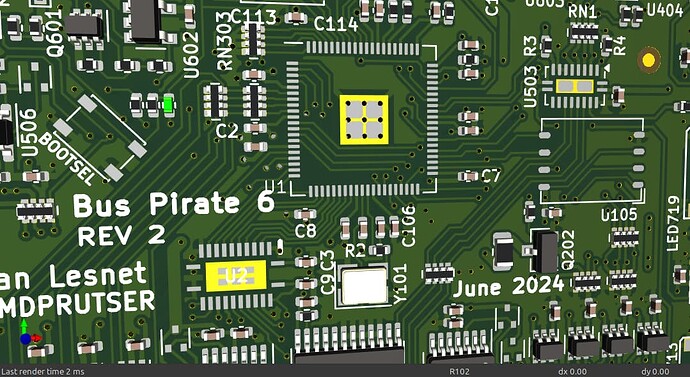
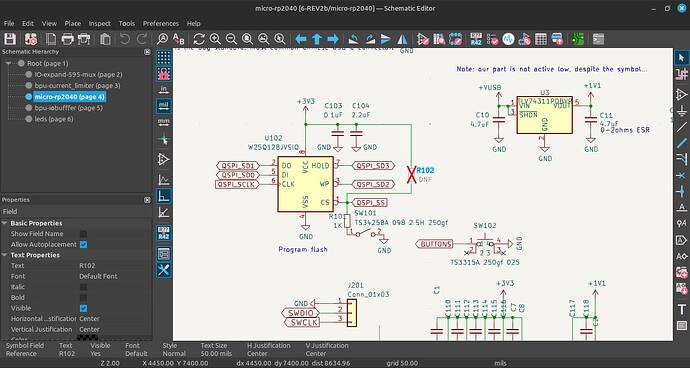
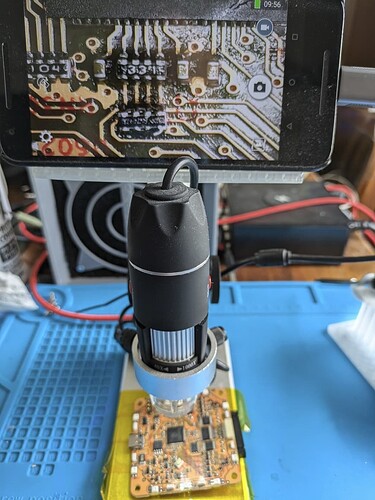
On the BPV6, R102 is DNP, correct? With the crossover from the RP2040, I wanted to ensure this still applied. *See photos for reference.
Thanks in advance for any info.
Correct. That is from the pico board schematic. It is needed for certain flash chips, but evidently not winbond ![]() it lives on as a debug footprint.
it lives on as a debug footprint.
There’s a lot of budget components on the BP5+ boards, but I didn’t cheap out on flash ![]()
Thanks to @BusPirateV5 and a local makerspace, I was able to fix my six!
Congratulations @satchuck ! How do you like your local hackerspace?
Its awesome! I’m laser etching pumpkins for some schools next. Kinda hijacking the thread, but do you think high schoolers would be good with a bus pirate and some puzzles on flash or something like that? Maybe @Dreg has some ideas.
I bet that smells interesting ![]()
One thing that really amazed me when Bus Pirate 5 finally launched was how many people wrote to say they got a Bus Pirate v3.x in high school and it was the first step to getting a STEM degree. Properly freaked me out. I would never claim that level of impact for our little community project.
The follow along logic analyzer (in all versions, but only “hardware complete” on the 6) is intended to give instant visual feedback to reinforce how the commands you send are translated to the physical layer. I think it will drastically reduce the learning curve.
Based on the trainings I’ve seen other people do with the Bus Pirate, I don’t think you need to make it too complex. Depending on experience level, just writing and reading a flash chip and using a temperature sensor can be quite illuminating.
Congratulations to everyone who fixed their six! Replacement hardware was shipped today and we included your “I FIXED MY SIX” stickers.
Thank you so much for following along, and for your patience while we got the replacement hardware certified, manufactured, and shipped!
Huge thank you Ian
for not only sending replacement for my 6 but also for posting the instructions on how to fix it here. Despite being very intimidated by the tiny size of the resistors I ordered some and gave it a go, and despite ruining a half dozen in the process and likely the worst soldering job on record I managed to get my buspirate 6 fixed! So will now proudly put that sticker on the back of my repaired 6!
That looks pretty good!
Which fix did you use?
Sorry should have added more details: I used the “easiest” recommended fix: I soldered the resistor array on top of the existing ones. As I mentioned I ruined about 6 resistors while I tried to do it, luckily I paid extra $1 and got 50, so plenty to spare ![]()
It took me about 8 goes of soldering on, then running test in firmware, finding it still reported the bug, back to touching up the soldering a bit, testing again, rinse & repeat. I think my problem was I didnt use enough solder to start with and then as added little bit at a time finally managed to get good enough connections. My soldering technique is not so great, so I just kept smearing on lots of flux (with tweazers) and thanks to whoever here recommended the rhino tweezers, I got a pair in same mouser order as the smd resistors and was well worth it as I couldnt pick up the tiny little suckers with the old cheap pair of tweazers I had.
Nice! I don’t think anyone who attempts an 0402x4 rework should doubt their skills. Willingness to pick up the iron gets you half way there.
Glad you like Rhino tweezers. The difference in quality is nothing short of amazing. A bit expensive, but I got a (probably knock off) pair ten years ago and they’re still in great condition.
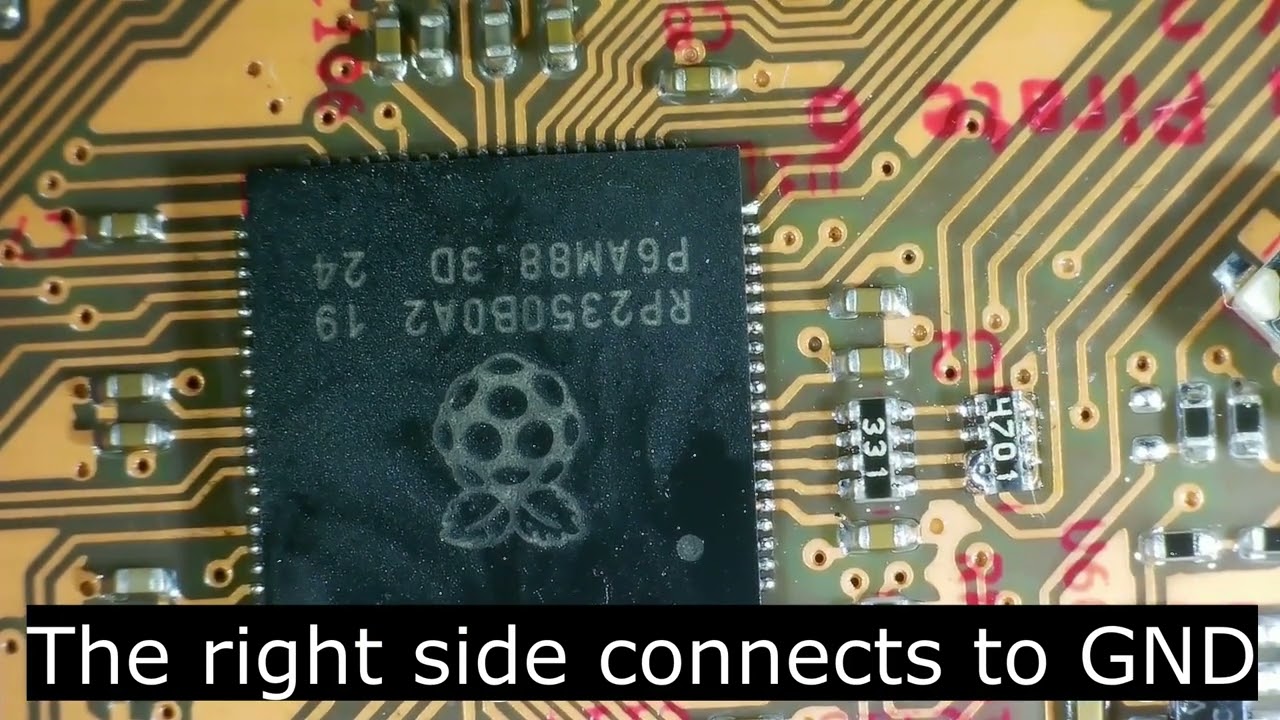
I have made a video where I show you how I have fixed my Bus Pirate 6 due to the E9 bug of the RP2350.
Nice work! Nice video!
Nicely done, thank you!
As someone who has held off on buying a bus pirate 6, I’m wondering if it’s safe to buy one at this point.
I noticed that dirtypcbs still lists the 6 as having production paused, though it appears it’ll let me add one to my cart.
What’s the verdict? Safe to buy? Hold off further?
Thanks!
Thanks for letting me know about the dirtypcbs page ![]()
We made a batch of boards with the fix and replaced everything that had already been shipped.
I don’t think there’s many left and we won’t make more until the rp2350 is actually available. I assume the unupdated page is probably why there’s still any left at all ![]()
Good to know. I took that to mean I was able to order, so I snagged one. Thanks Ian!
I can confirm they were still available last week. I ordered one then and it shipped as normal. I’m sure there are not many left, but it’s a nice upgrade over the BP5.
Note that all the errata still apply. E9 is just one of them. E10 may have more impact later…
