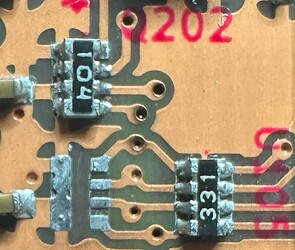
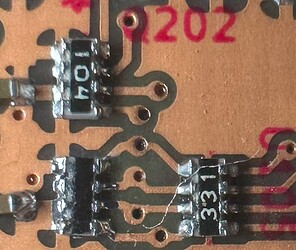
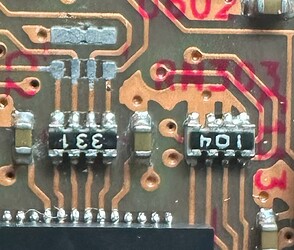
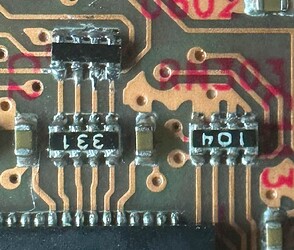
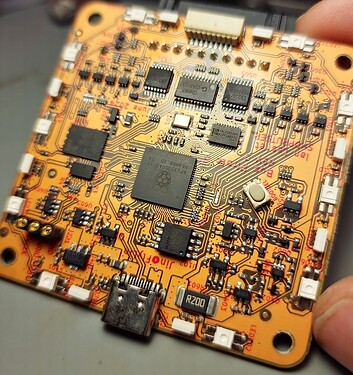
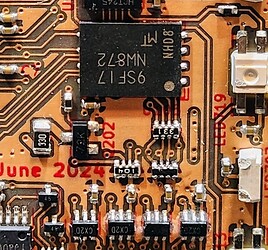
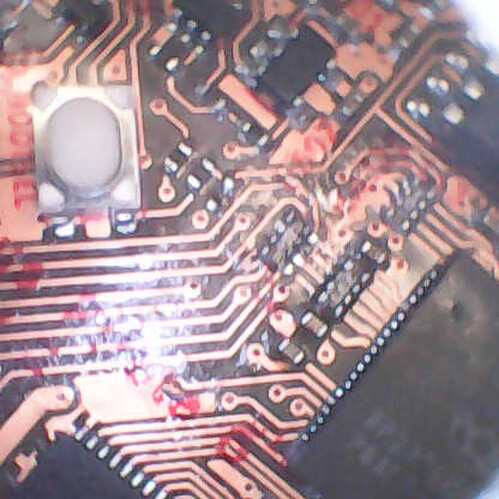
My resistors arrived today from a buddy up in Seoul. I haven’t measured them under the microscope, but I’m shocked at how small they are. I almost wonder they’re the wrong size entirely. Photo soon
Ian, can you confirm that the ~ test (in HiZ mode) will detect if any of the (non-ground side) resistor array pins are bridged with solder? e.g., running:
m 1
~
For example, if I accidentally bridge two of the output pins, the built-in self test will detect that?
Also, do you have a recommended binary for stable FALA and external LA (e.g., SIGROK, PulseView, other?). If you know the commit , and either how to get GitHub Actions to build it, or a link to the UF2, it would be appreciated!
Thanks!
I still have some resistors available for FixMy6 if anyone else is still needing some. Prefer U.S. only. If you are somewhere else geographically, call it out and we will see of one if us can coordinate something. Feel free to DM me if you prefer.
The self test does pin by pin tests and should detect shorts. It is really aggressive so when we have shorts after manufacturing there are often 20 to 30 errors per stuck pin. As always, free bugs though and I’m happy to improve.
There is a binary circulating with FALA support. I’m super sorry, I haven’t had time to properly address it yet. I don’t want to out anyone without permission, but a member of the community sent me a compile. I need to get over the store deployment hump this weekend and then I can catch up. I’m sorry again and appreciate everyone hanging in there.
All this was done under 2x-4x magnification.
I definitely learned that “less is more” holds true for this type of job. I kept losing the resistor (it was stuck to my iron by surface tension). ![]() Had some close calls where I risked pulling pads (not sure I didn’t damage them, actually).
Had some close calls where I risked pulling pads (not sure I didn’t damage them, actually).
Eventually, I made sure all pads were tinned first, then stuck one pin (repeating many times until aligned close enough), then flux + heat gun until it melted and self-aligned. Followed by copper braid pre-treated with flux to remove the large globs, and finally IPA for cleanup.
Some melting damage to one pixel. Definitely not something I could recommend trying without hot air, a warming plate, or a set of properly sized fancy soldering (heated) tweezers. I’m gained some grey hairs doing this…
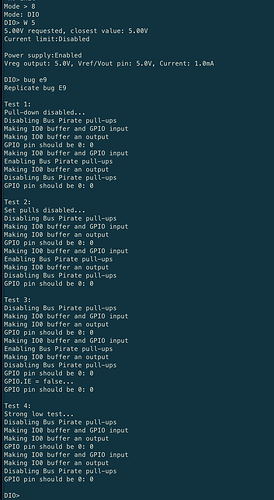
I didn’t think it would, but both self-test and bug e9 -a passed. Although proud, I don’t think I’ll be doing much tiny soldering in the future. ![]()
Is there somewhere I can check to see when the repaired bus pirate 6 devices are going to start shipping? Thanks.
First time doing any SDM rework smaller than a 1206, got the pads pretty clean, waiting on UPS to deliver my parts, hopefully end of week ill see how steady my hands are. If nothing else, now I’m shopping for a microscope ![]()
Whew! The fix is almost working (Thanks to BusPirateV5 for the parts!)
However, pins IO1 and IO3 are failing the bug test. I obviously had a bad solder joint. I’m trying to get my microscope working to see better, but if I knew where to look - it would help. Both pins should be 0 but are 1.
Hi! We got our FCC and CE testing results on the new revision last Thursday.
Bus Pirate 6 is currently in production. The assembler in China is working on the components and production scheduling today. Once this is done we should be able to start PCB assembly right away.
We are talking to the PCBA about doing a partial shipment before a 7-day Chinese National Holiday starting on the first of October. Hopefully we can ship all the replacement units and most of the back orders before the holiday.
At the latest, remaining orders should ship 9-10 of October.
We are so glad this is finally happening. The updated E9 errata took a month to deal with. I’m so sorry this has been such a long wait. You can follow either this thread of any one of our social media for the latest update on the 6.
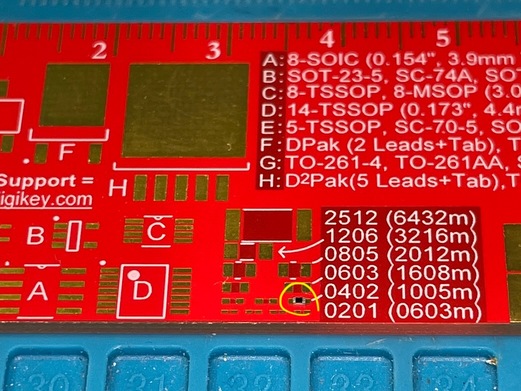
First time I found use for the printed pads on the PCB rulers. Here I can confirm that the resistors I got that resembled grains of sand are indeed 0402 as promised. Probably won’t get them installed until tomorrow — the highly specialized plumber arrived out of the blue to fix a floor piping leak we’ve been fighting for months.
Man, those parts are small, took a few tries, but got it and it passes a self test and the e9 bug check. could be better, but all i have is an iron, lots of light and trying not to singe my eyebrows!
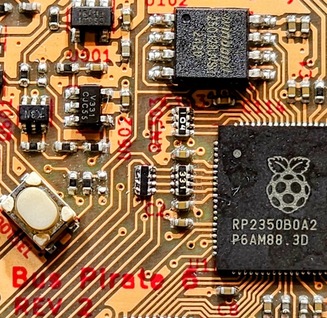
Side note, when i updated the firmware my LEDs are all just red instead of the rainbow, how do i get that back?
Congrats! Hit c for configuration menu, then choose LED mode settings. It will save when you exit the config menu.
Wow! I am very impressed you did this with a soldering iron, without a secondary tool (heat plate, desoldering station, soldering tweezers, …). Congratulations!
I can tell you from experience, this isn’t an easy task with just an iron. Good job.
Fixed mine, i was able to remove the old resistor without damaging the screen, by using a bigger soldering iron tip
It took me 3 or 4 tries, but I finally fixed my 6 and passed all tests. Whew.
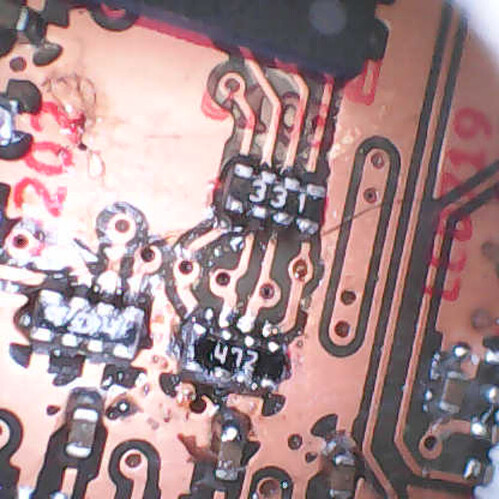
Here are pictures with my $4 otoscope:
Hey! Congratulations everyone on Fixing Your SIX ![]() Lots of firsts out there, you should be commended for giving it a go!
Lots of firsts out there, you should be commended for giving it a go!
SMD soldering is usually more intimidating than it is difficult. The surface tension of the solder, lubrication of the flux, the highly engineered and refined (and dirt cheap, a modern miracle) PCBs - they’re all designed to make things solder reliably and do a pretty amazing job. As long as you apply not-to-much heat and not-to-much solder everything wants to snap in place.
Mentioned in the main thread, but not here: we didn’t manage to ship before the National holiday because the PCB factory made the LED holes too small. They re-milled them and the boards are assembled, but we lost a day and they won’t be delivered to our office until the first day back from the holiday. We’re really sorry about that, it was a tight deadline with no margin for error and we just didn’t manage.
I can’t speak for everyone, but I appreciate the time and efforts along woth the consideration! You guys are killing it, even with the hurdles thrown your way. I’m not normally patient, but when you can see the efforts, it’s different. It helps to know you not only tried, but went the extra mile. This alone shows your dedication to the project, customers and community. Thanks @ian and et all!
