This round of tooling and samples is finally over and an initial production run is scheduled for this Saturday:
- We’re using a 70/30 mix of a white and transparent PP material
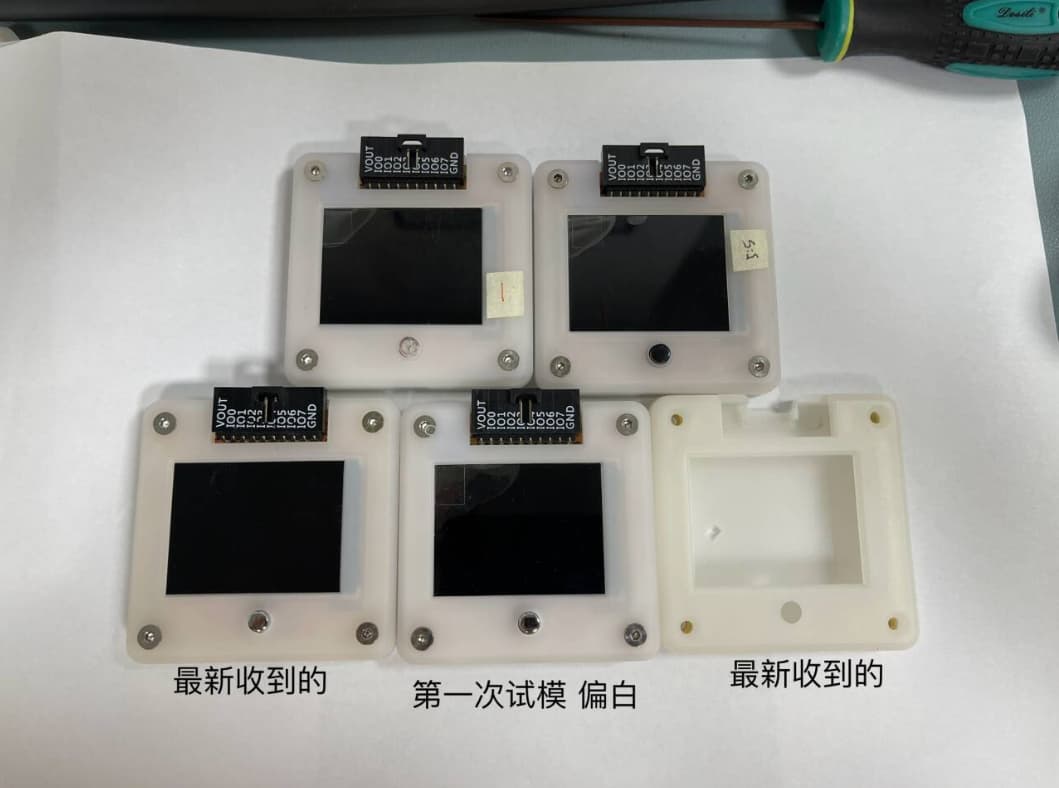
- No additives (diffusion powder or strengthener) because they caused an unsightly yellow tinge to the case (bottom right)
- There is an ever so slight gap on the USB connector side where the two halves meet. This has been diagnosed as the pins that eject the part after molding are not exactly the same length. One side of the case is being pushed a little sooner than the other causing deformation. The solution is to polish 0.1mm off of the longer pin.
- The final test moldings had some black material on the inside surface around the ejection pins. The tooling will get a good cleaning.
Tomorrow we will pay the remaining tooling fees and for the initial production run. On Saturday they will clean, load, and heat the tooling. Jam (from our office) will go to the factory to approve and sign off on the “final look and feel” of the initial production. We should have plastic on Monday or Tuesday of next week ![]()
The factory suggested an initial batch of 500 as a test. We’ve requested 1500 instead. 1000 for the batch of Bus Pirates in production now, and 500 for folks who what to swap out their current case.
This injection molding experience has been much more pleasant than the first. I would rate it “very good”. The factory was hands on and proactive, lots of communication. However, it just seems to be a fact that injection molding is a pretty slow process and it takes a LOT of back and forth to get everything sorted. The first post in this thread was in October, and we’re going into production the first week of January.
My biggest “lesson learned” is that I would have gone in with a production ready design. The factory offered to make modifications to the current design, but there were weeks and weeks of delay getting the AUX connector area completed. I think the factory had good intentions, but probably not the resources to do this for us as a freebie. Instead, I would have hired someone on Fiverr (or whatever) to make the changes, test them with 3D prints, and hand a completed design to the factory. I think this would have saved about 4 weeks, maybe more.
If you’ve been following along, thank you so much! I hope this gives some sense of what it’s like to do a small injection molded enclosure. Cases will be available at DirtyPCBs as soon as we get them, and store.buspirate once the Medusa guy returns from holiday and fixes the payment stuff.